VLTI Imaging p2 Tutorial
IMPORTANT: ESO is now offering use of the web application p2 for Phase 2 preparation for all Paranal observing runs from Period 102 onward. The web application p2 fully replaces the use of P2PP for the preparation of the Phase 2 observing material for all telescopes/instruments for both Service and Visitor Mode runs on Paranal. Please check our help section about p2 for instructions on how to notify ESO when your material is ready.
This tutorial provides a step-by-step example of the preparation of a group of concatenations for the VLTI. This uses the functionality of nested containers, which include groups of concatenations or time links of concatenations. For the VLTI, the use of groups of concatenations is mandatory for imaging programmes, such that the group defines the set of concatenations that contribute to the same image or uv plane. The use of time links of concatenations is recommended for VLTI observations of time series and is described in a separate tutorial. For this tutorial, we use as an example OBs prepared for the GRAVITY instrument. We focus in this tutorial on the creation of the nested cotainers, not on the specifics of GRAVITY OBs, so that this tutorial is also relevant for OBs prepared for the VLTI PIONIER or VLTI MATISSE instruments in the same way.
For the creation of OBs specifically for each of these VLTI instruments, we refer to the GRAVITY p2 tutorial, the PIONIER p2 tutorial, the MATISSE p2 tutorial, or the MATISSE GRA4MAT p2 tutorial.
1: Getting Started
The Phase 2 process begins when you receive a communication of the ESO Observing Programmes Office (OPO) announcing that the allocation of time for the coming period has been finalized and that you can view the results by logging into the UserPortal and clicking on "Check the webletters."
Let's assume you were granted observing time with one of the VLTI instruments in service mode, and the goal of your run consists either in collecting observations to reconstruct one or several images, or to conduct a time series of VLTI observations. In these cases, the indiividual observations cannot be executed stand-alone, but they have to be executed in a group or time link of several observations. For VLTI observations, each individual observation normally (except for astrometric observations with the GRAVITY instrument in some caes) already consists of a concatenation of science (SCI) and calibrator (CAL) OBs.
As of P108, these individual SCI/CAL concatenations can now further be organized in groups of concatenations for imaging or in relative time links of concatenations for time series.
To start preparing your Phase 2 material including observation blocks, instructions, and finding charts with the web application p2, we recommend you familiarize yourself first with the creation of individual OBs and concatenations for your instrument using the instrument-specific p2 tutorials and references therein first:
- the GRAVITY p2 tutorial
- the PIONIER p2 tutorial
- the MATISSE p2 tutorial or
- the MATISSE GRA4MAT p2 tutorial.
For the sake of this tutorial, we will use the p2 demo facility at https://www.eso.org/p2demo, as we do for the individual instruments above (more information therein).
2: Creating a group of concatenations for VLTI imaging
2.1 Goal of the run
In this tutorial we prepare a group of SCI/CAL concatenations of the Mira variable star S Orionis (Simbad coordinates RA (2000) = 05 29 00.893, Dec (2000) = -04 41 32.75, proper motions RA -11.57 mas/year, Dec -11.34 mas/year) using the small, medium, and large VLTI baseline configurations, with the goal of reconstructing an image of this source. This is the same source that is used in the GRAVITY p2 tutorial to create a SCI/CAL concatenation, so that here we do not repeat the details of the different templates.
2.2 Creating the group container in p2
Select the folder corresponding to the GRAVITY tutorial run, 60.A-9252(M) by clicking on the + icon next to it. In this tutorial we assume that time was allocated in Service Mode. This is indicated by the small wrench icon that appears next to the RunID. "Inside the run" you will see (at least) one folder, called "GRAVITY Tutorial", and one folder "Nested Container Tutorial". The latter folder contains the final product of the tutorial you are now reading. You can refer to the contents of that folder at any time, perhaps to compare against your own work. There may be other folders are OBs visible, as this account is a public account and used for testing by other people as well.
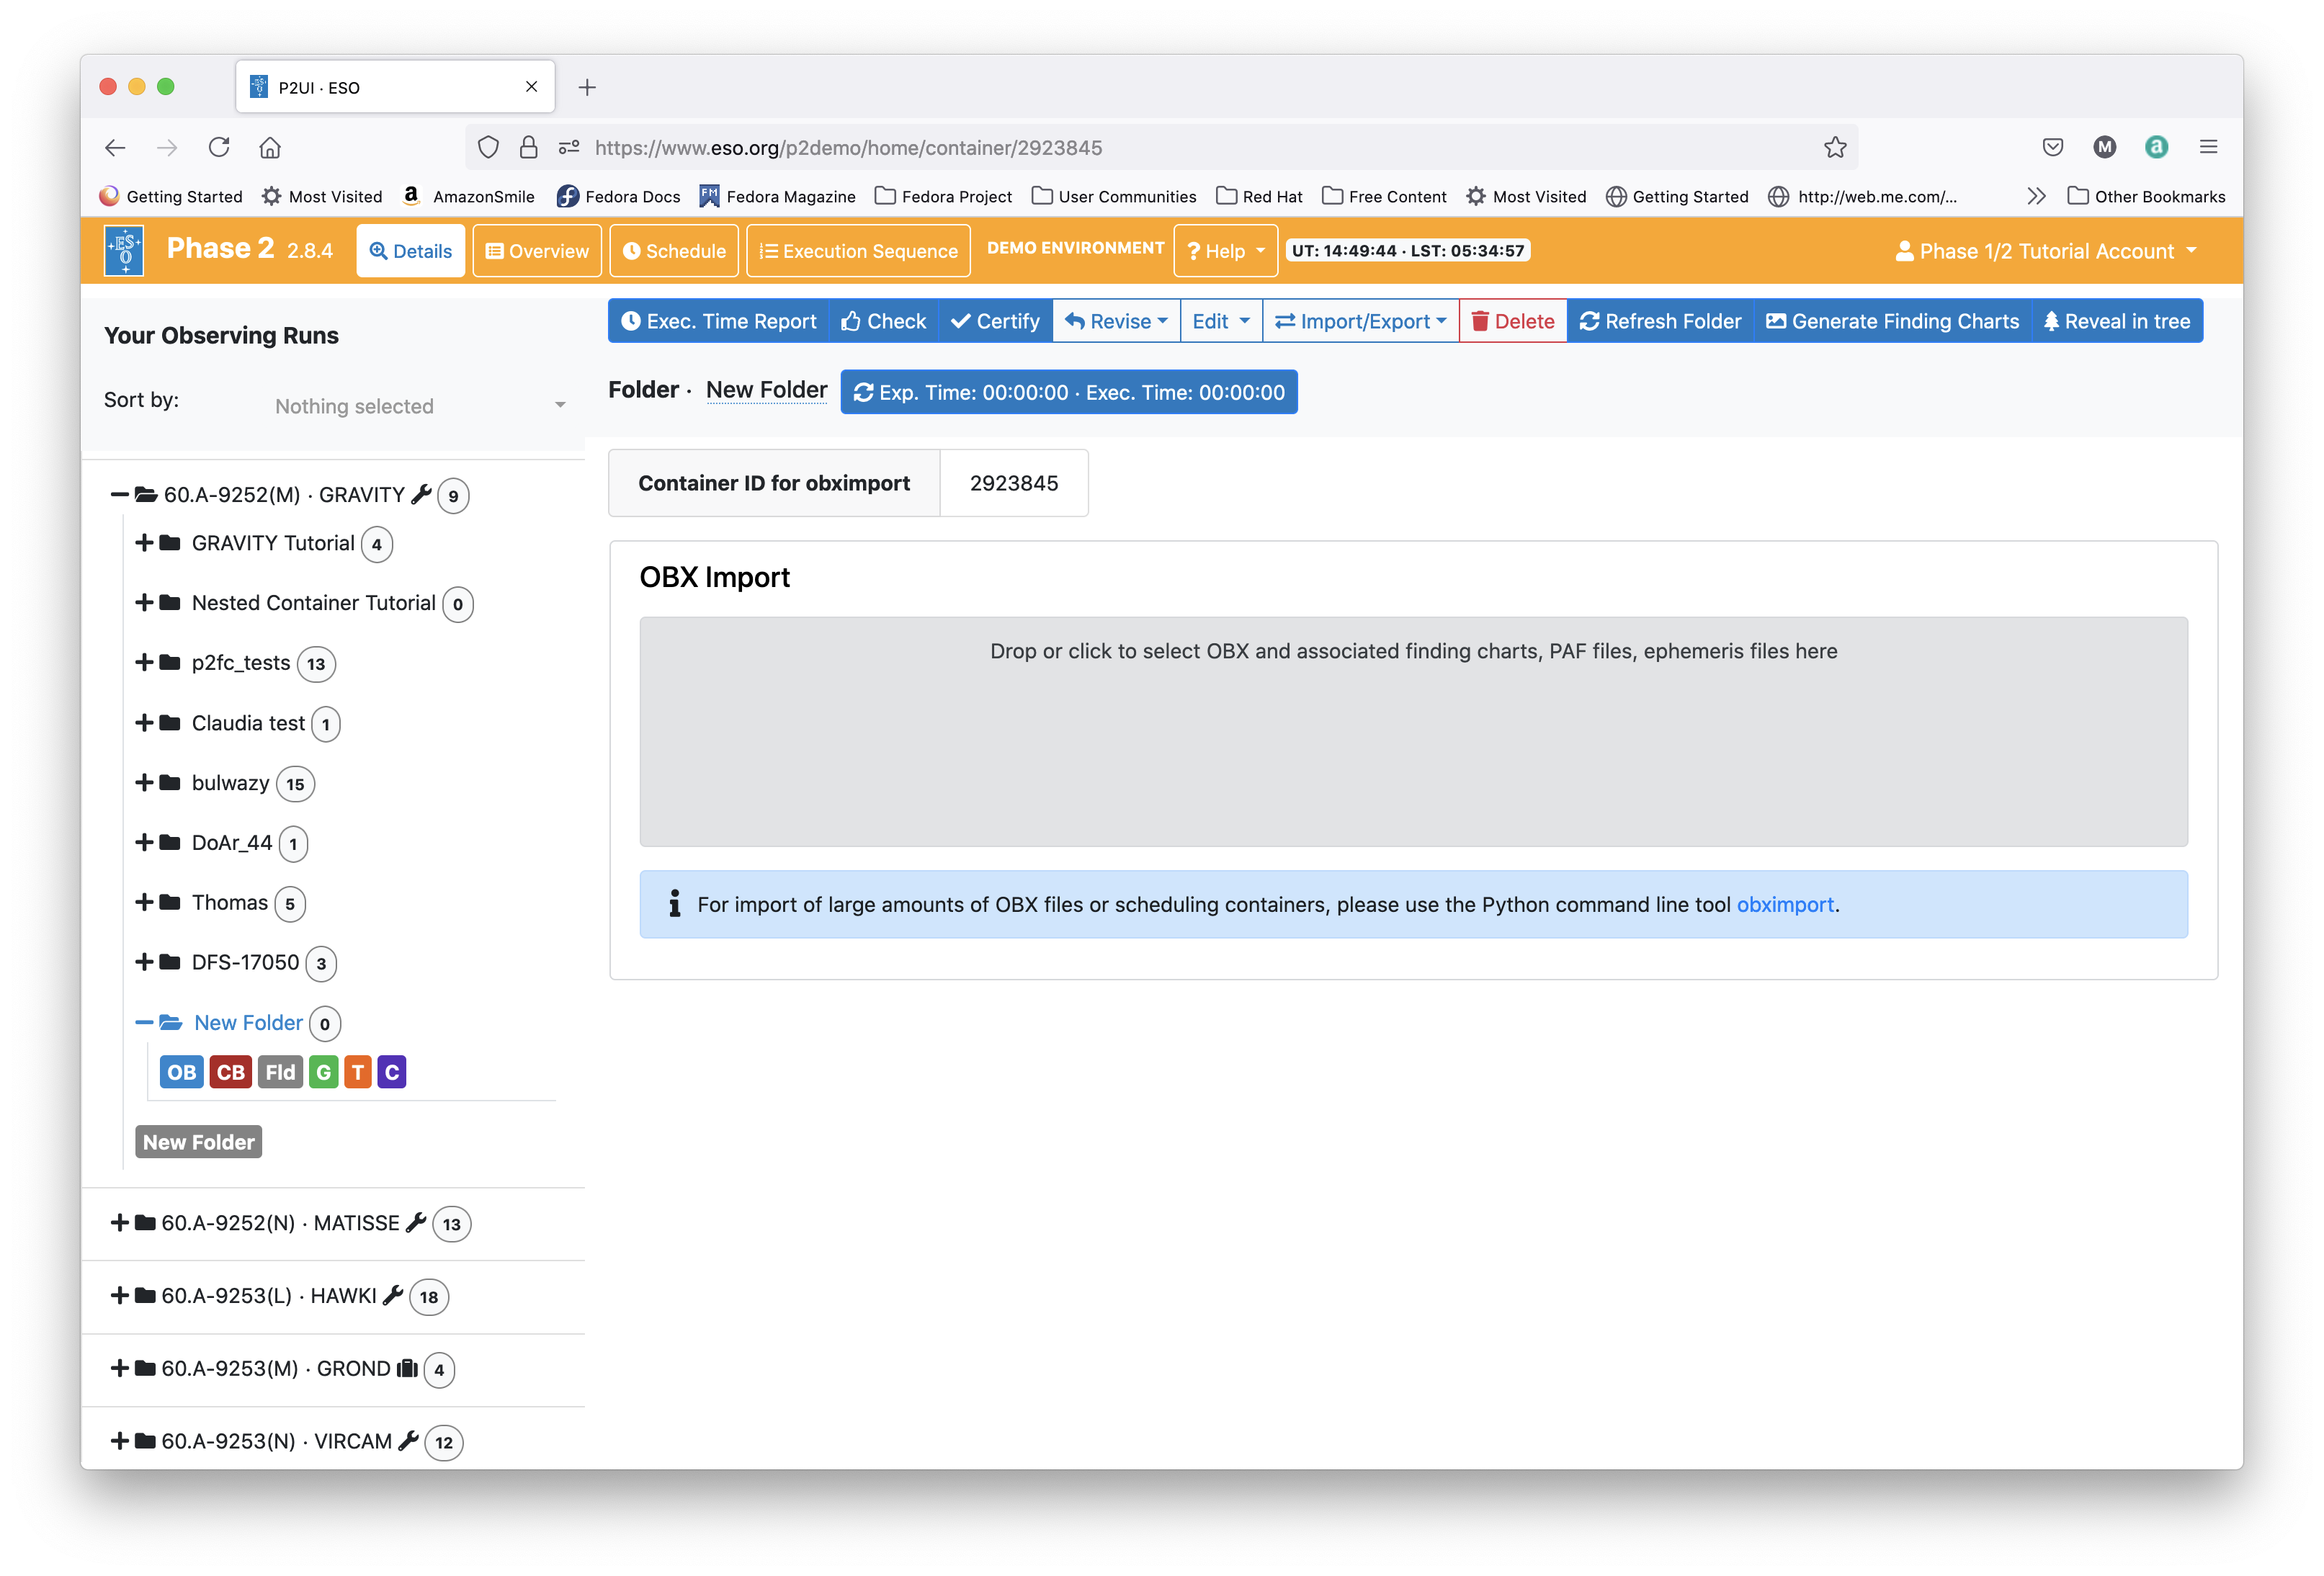
In the p2 demo you must first start by creating a folder, within which you will put your own content.You can create a folder by clicking on the icon New Folder. Please notice that a folder named by default New Folder will appear at the bottom of the list of items in the run. Because the p2 demo is on-line and accessible to anyone you may see folders belonging to other people here, though after-the-fact clean-up is encouraged and possible.
Your screen should look like this after you pressed the "New Folder icon:
You can give the folder a new name by clicking on the blue 'New folder' text on the top, in this tutorial the name will be "my first folder", but you can set the name of your folder to be (almost) anything you like. Select and open your new folder by clicking on the + icon next to it.
Alternatively, if you would like to create an example of a group of concatenations for the PIONIER or MATISSE instruments, you can also create such a folder in the PIONIER tutorial run 60.A-9252(T) or the MATISSE tutorial run 60.A-9252(N).
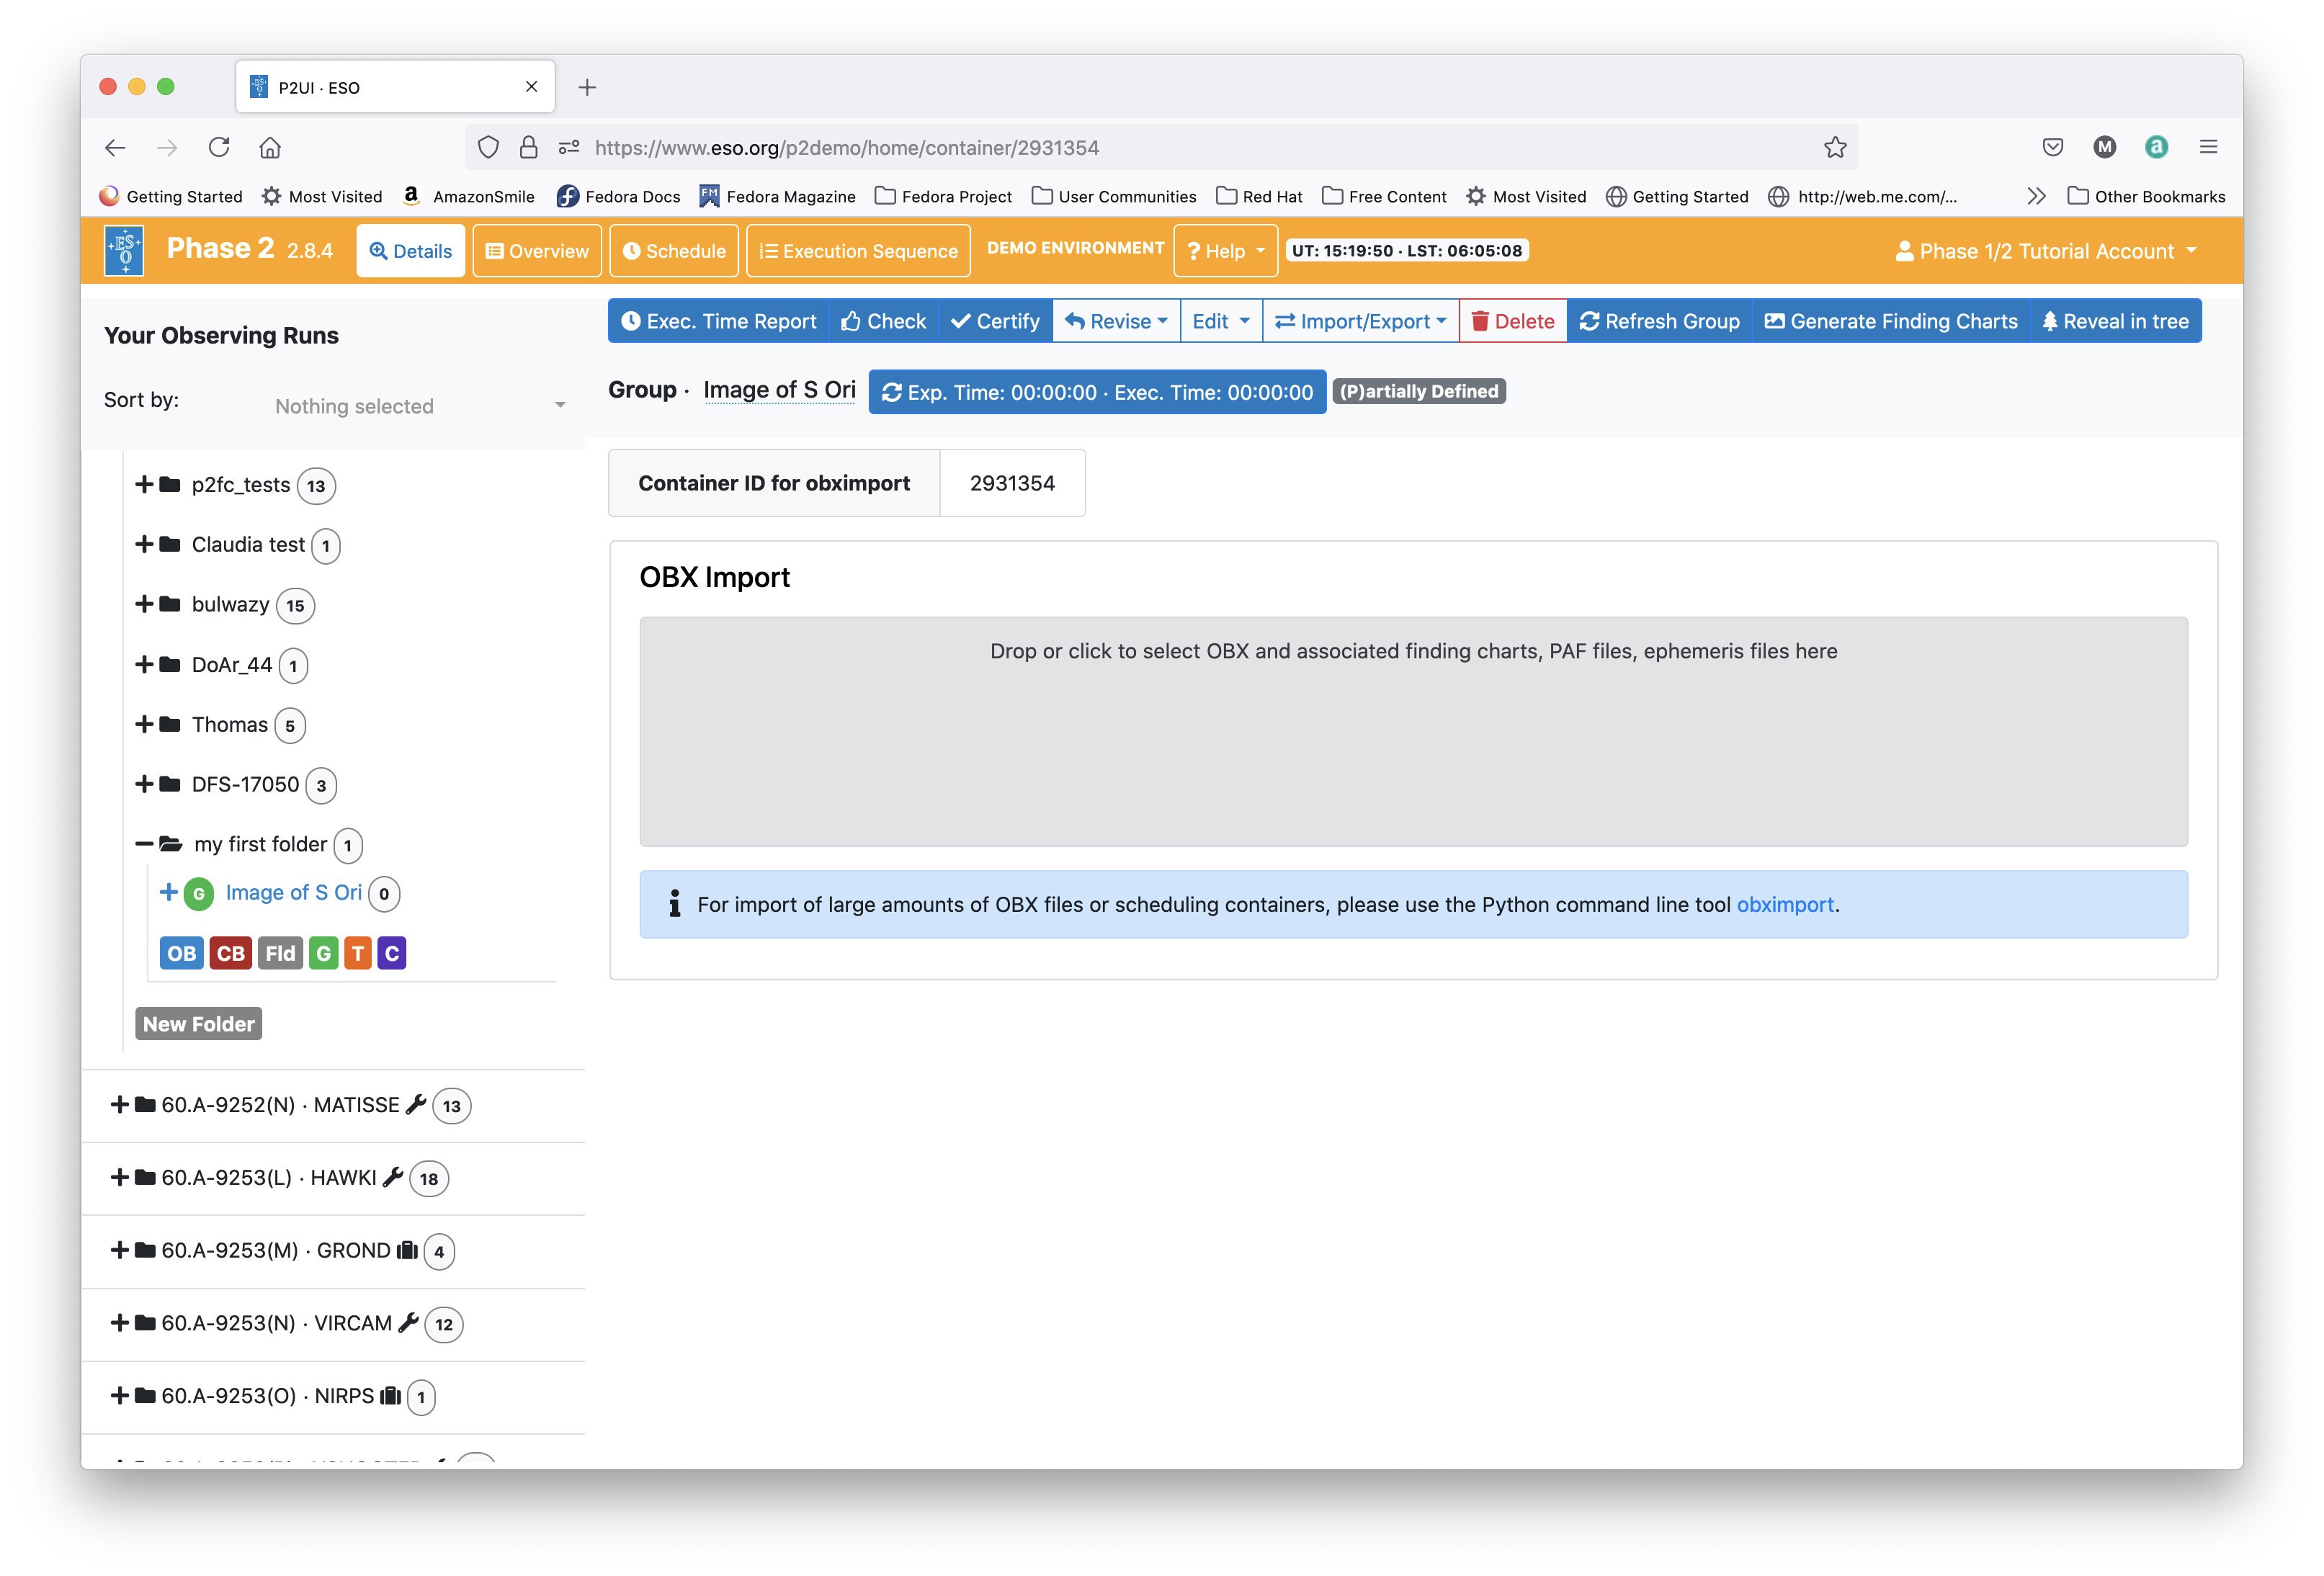
In this tutorial, we are creating a group of concatenations for the purpose of imaging. We thus start our tutorial by creating a group container. We create the group container by clicking on the icon for a group, labeled "G" in green in the icon bar below your new folder:
This creates an empty container of type group in your folder. Again, as for the folders, type a name for your group container, such as "Image of S Ori". Your window should then look like this:
2.3: Creating the SCI-CAL concatenations inside the group container
All VLTI OBs are normally part of concatenations, which is a type of container in which OBs are executed in sequence. For GRAVITY, the standard sequence is SCI-CAL. Other sequences of science and calibrator OBs may be used as well within the standard limit of uninterrupted service mode observations of 1h (or 1.5h after an approved waiver request). In our example, we wish to define a regular SCI-CAL sequence.
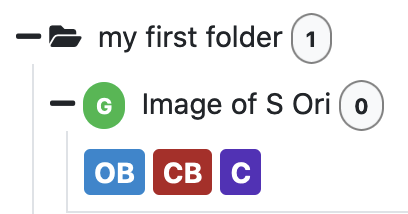
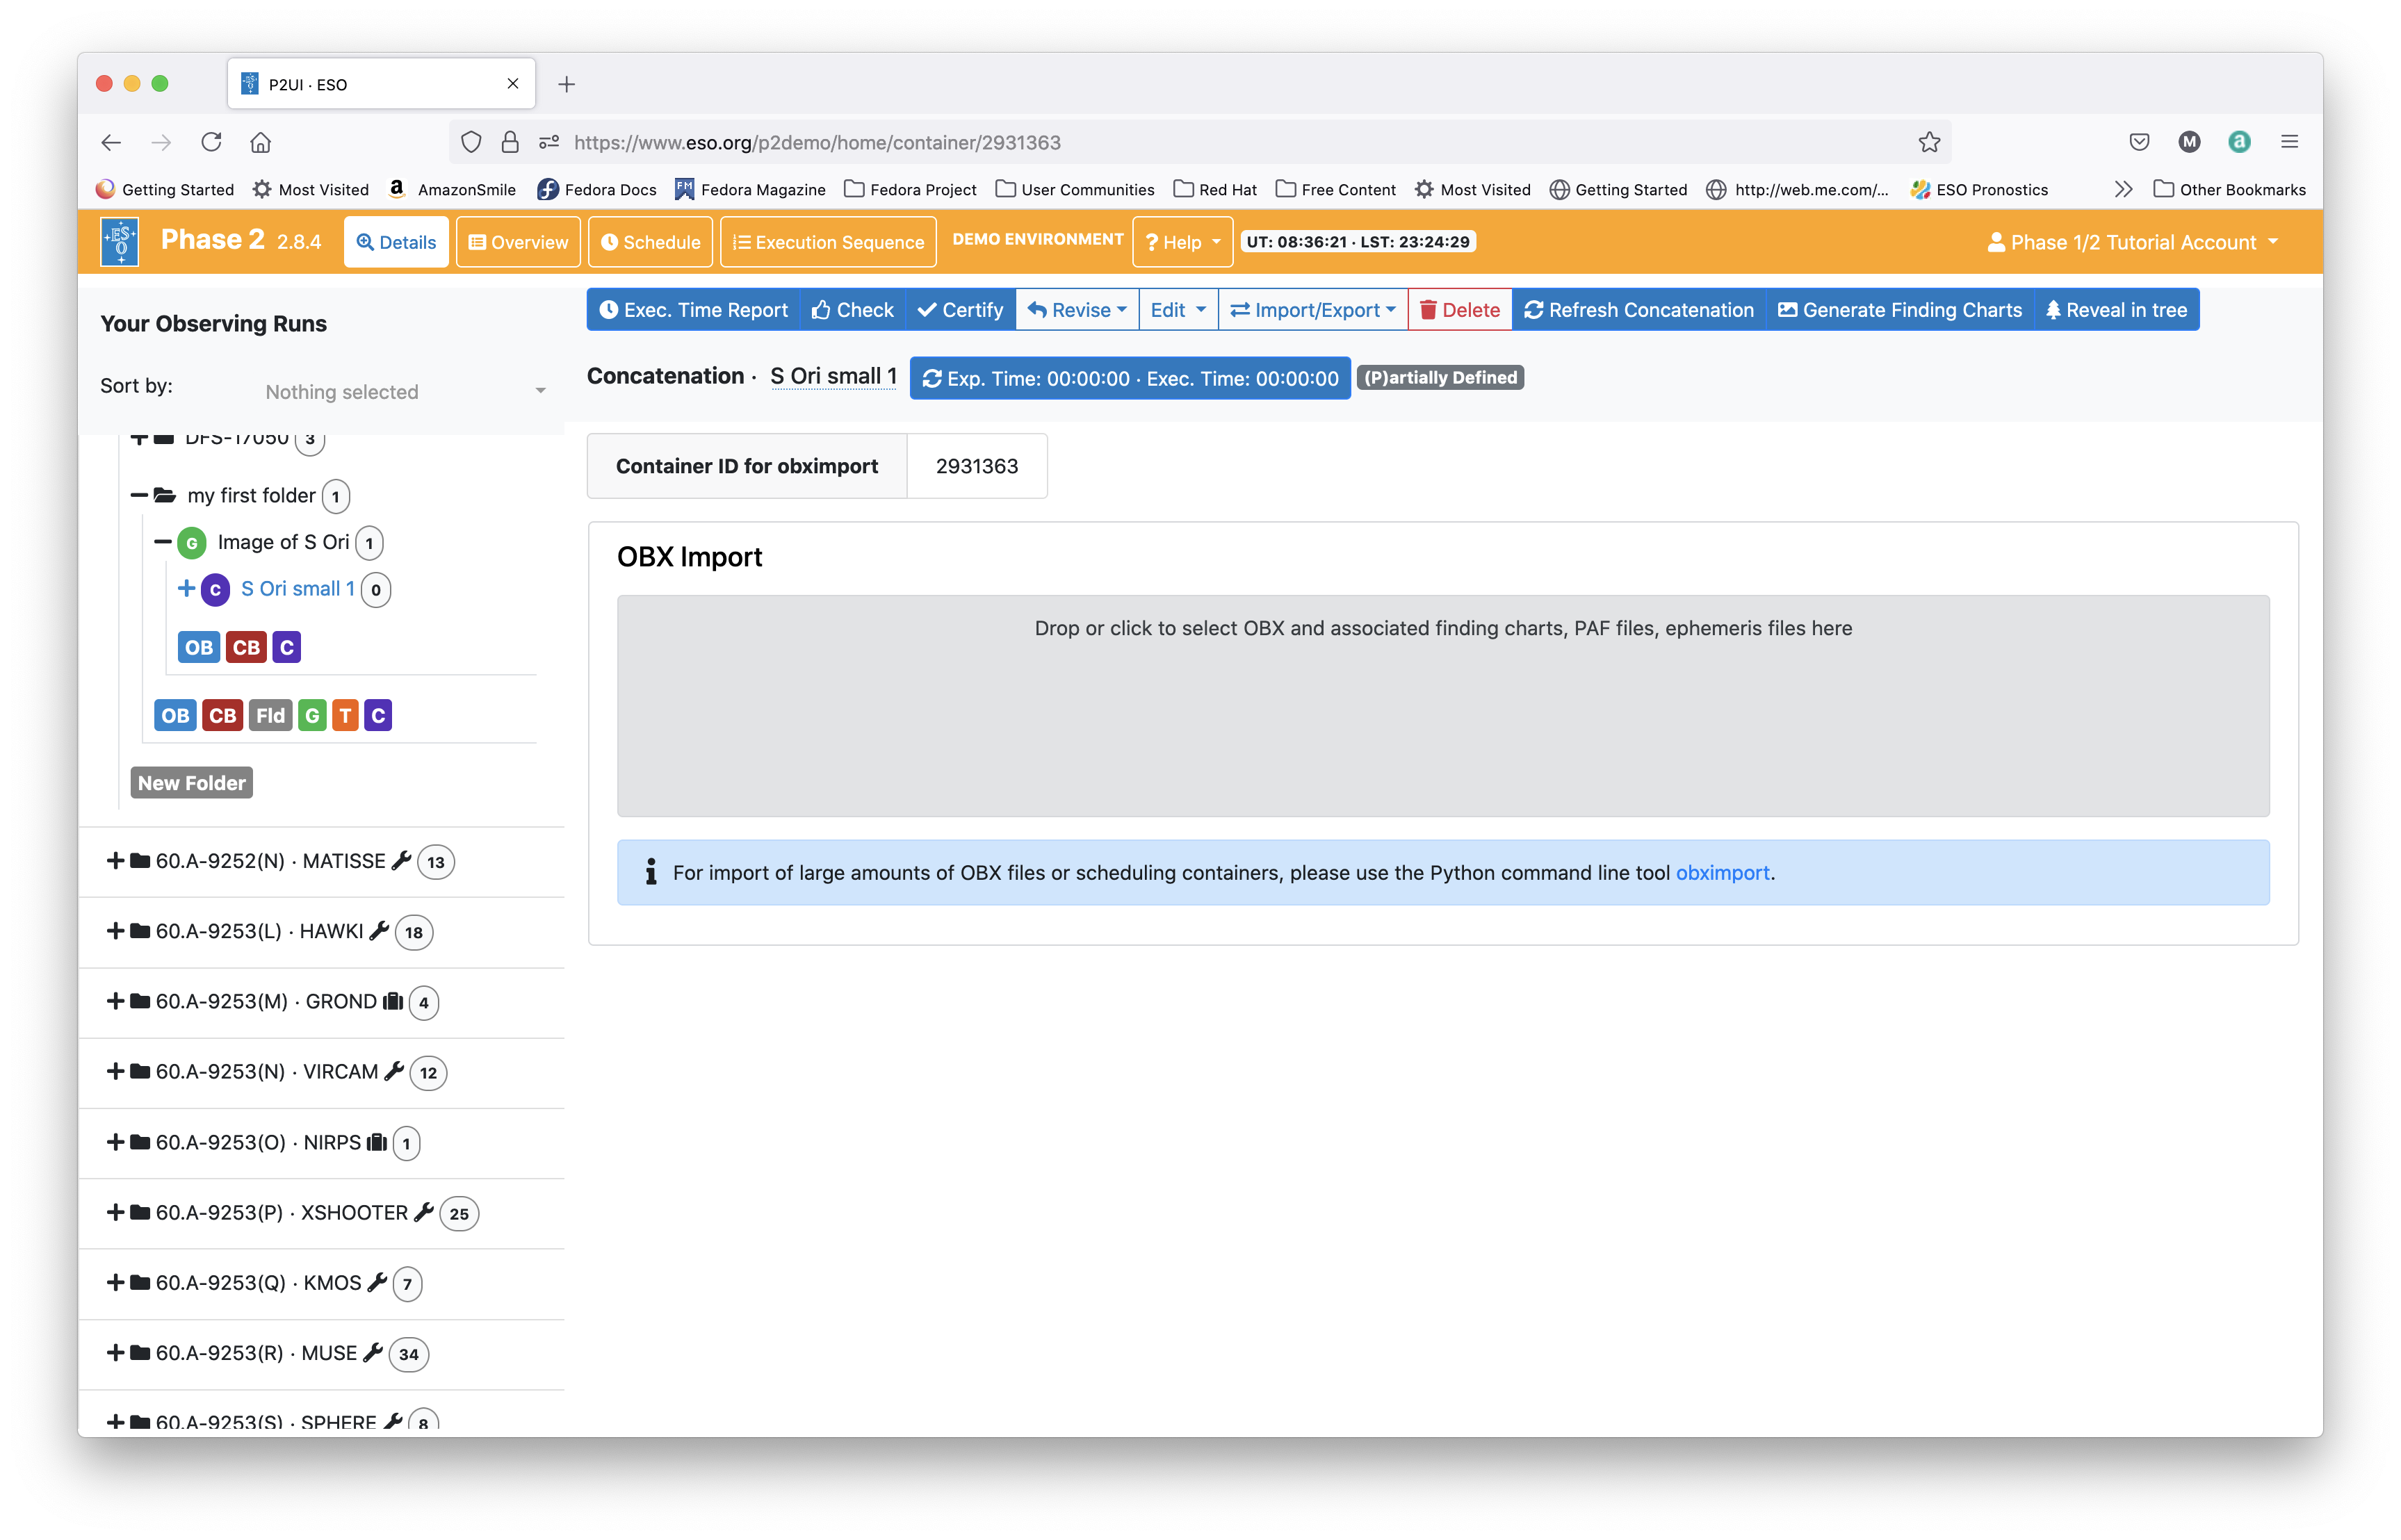
We thus first create a concatenation container underneath the gropup container that we created above. We select and open our new group container 'Image of S Ori' by clicking on the + icon next to it. We then create the concatenation container by clicking on the icon for a concatenation, labeled "C" in purple in the icon bar below your created group. This, and all the following, is in principle the same step as creating a concatenation directly in your folder when you prepare a regular stand-alone SCI-CAL concatenation as in the GRAVITY p2 tutorial:
This creates an empty container of type concatenation in your group. Again, as for the folders and groups, type a name for your concatenation container, such as "S Ori small 1", as we will use this as the first concatenation using the small baseline configuration. Your window should then look like this:
You can now create your SCI and CAL OBs within the concatenation container "S Ori small 1" in the same way as detailed in the GRAVITY p2 tutorial. If instead you are preparing a group for imaging with the PIONIER or MATISSE instruments, please follow the detailed instructions on the creation of OBs in the PIONIER p2 tutorial, the MATISSE p2 tutorial, or the MATISSE GRA4MAT p2 tutorial.
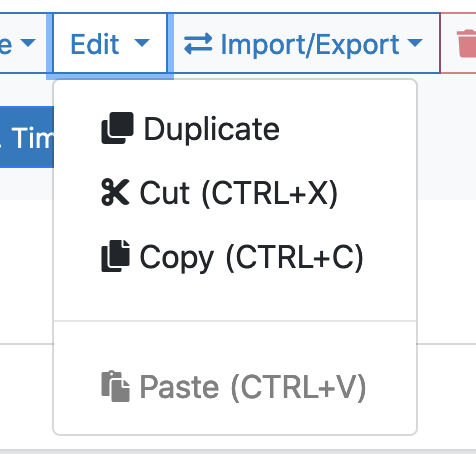
If you already have created a SCI-CAL concatenation outside of the group container, you can alternatively cut&paste or copy&paste an existing concatenation into this group using the 'Edit' function in top of your p2 window:
We call our OBs SCI_SOri-small-1 and CAL_31Ori-small-1, following the naming convention for VLTI OBs and indicating that these OBs are a part of the first concatenation using the small baseline configuration:
In the acquisition templates, we have indicated 'small' for the interferometric array and 'imaging' for the type of interferometric observation:
2.4: Defining Time Intervals
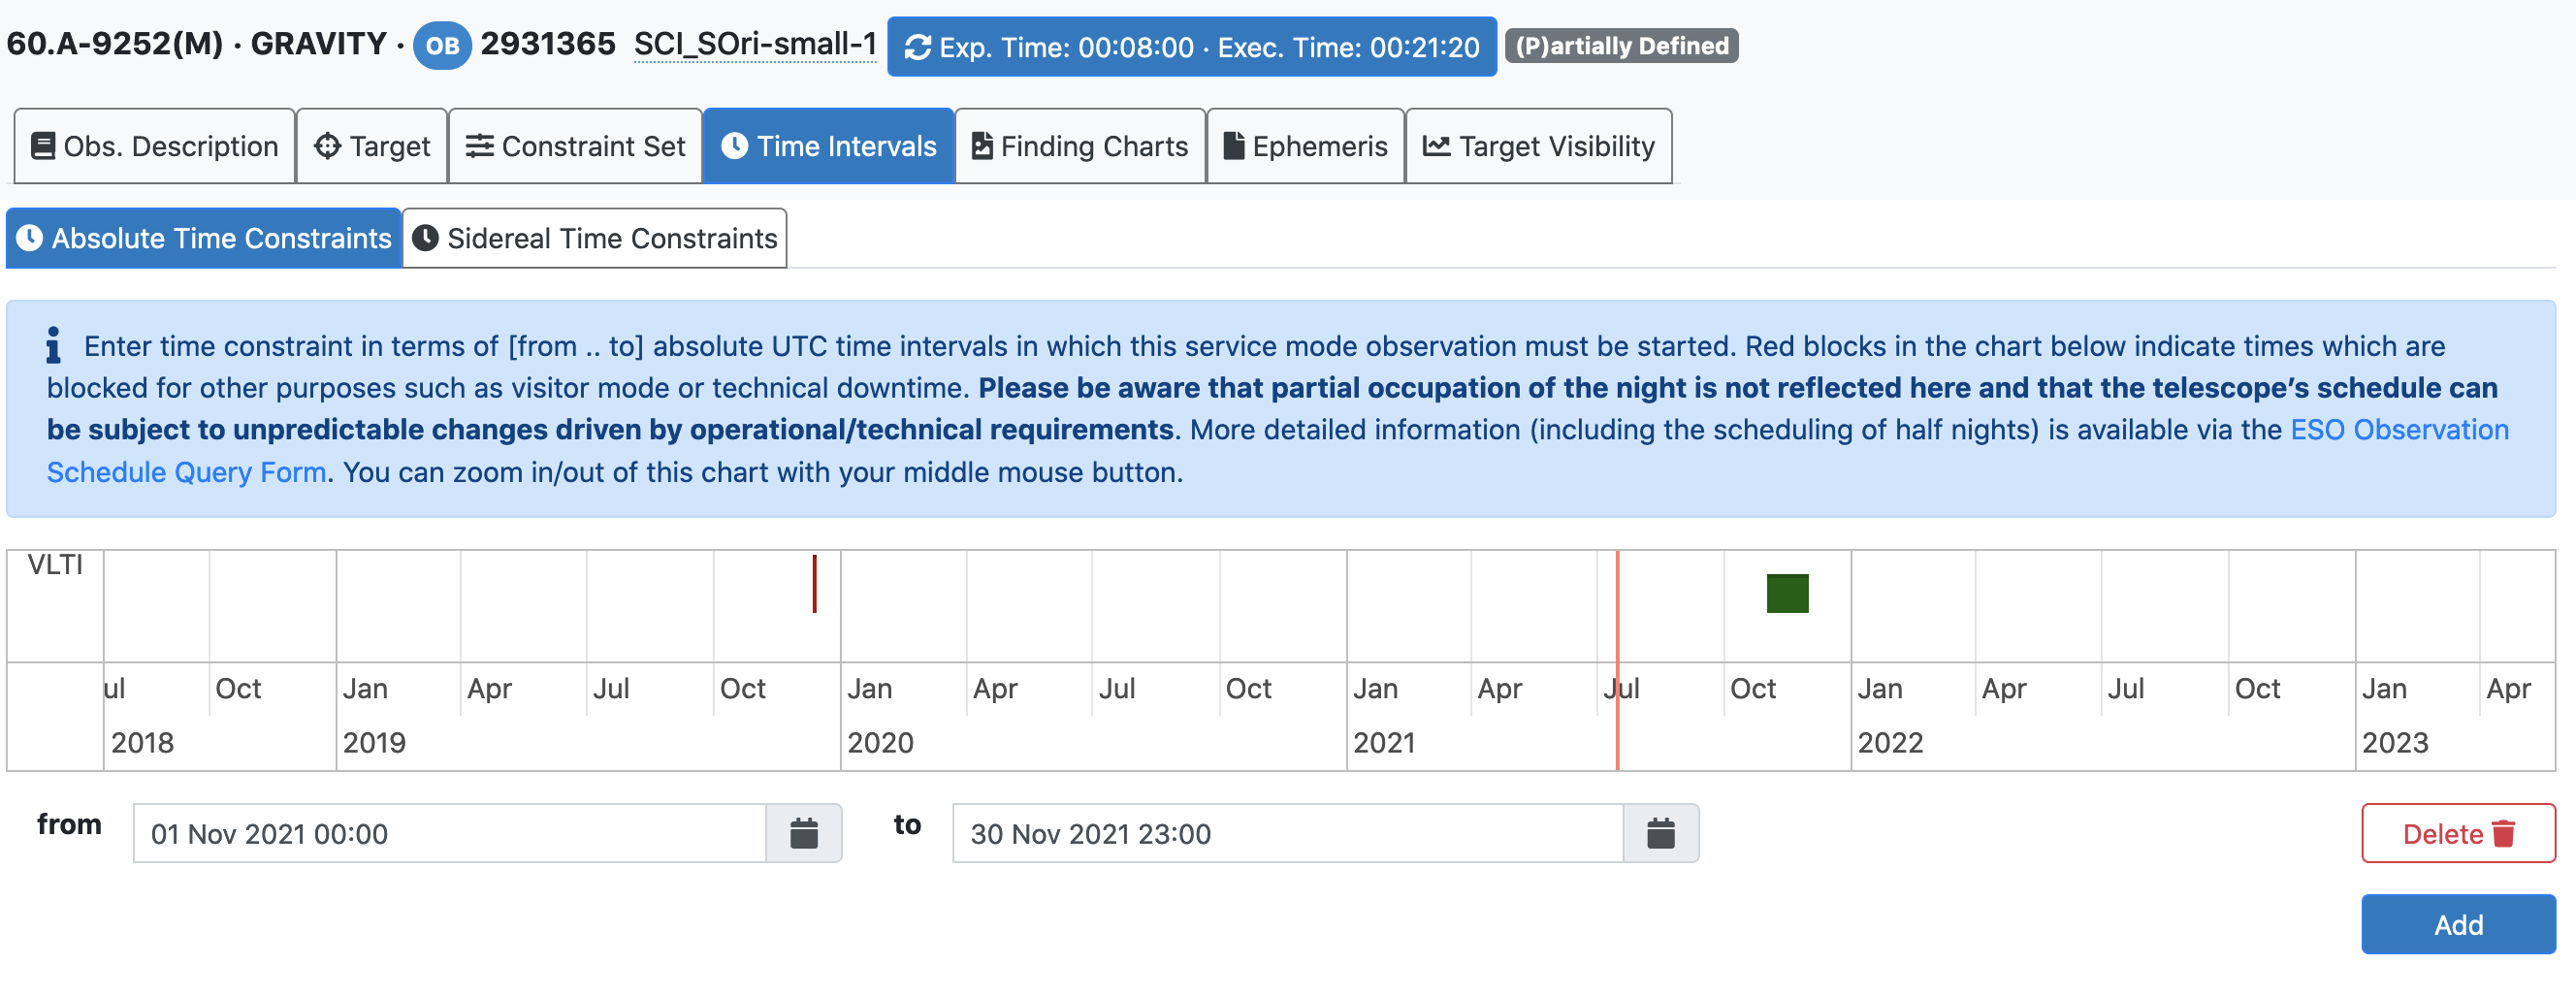
Click on the Time Intervals tab at the top of one of the OB windows. Here you can specify both Absolute Time Constraints (left tab) and Sidereal Time Constraints (right tab). Both types of time intervals are optional and shall only be used if there is a strong scientific reason to constrain the absolute time or the sidereal time of the observation.
For VLTI imaging observations specifically, the Sidereal Time Constraints shall not be used, as ESO's Paranal Science Operations Team takes care of filling the uv plane in a uniform way, also taking advantage of intermediate configurations. Absolute Time Constraints, however, need to be used if your science target is variable, and all observations of the group need to be taken within a certain period of time. The minimum supported period of time is 4 weeks and shall best be used around one of the pre-allocated imaging slots (ISLs). We encourage you to get in touch with the ESO User Support Department via support.eso.org to identify a well suited period of time.
In our example, S Ori is a Mira variable star with a period of about 1 year, and we would like all observations to be taken within 1 month during the month of November.
We click the 'Add' button in the 'Absolute Time Constraints' Tab and enter a an absolute time constraint of 01 Nov unitl 30 Nov for both the SCI and CAL OBs.
Then, the "Time Intervals" tab of our OB SCI_SOri-small-1 looks like this:
This completes our first concatenation in the group container 'Image of S Ori'.
2.5: Filling the group of concatenations
For our goal of reconstructing an image of our source S Ori, we need to prepare further OBs that together will fill the uv plane. Based on the recommendations by ESO for imaging programmes, we wish to use 5 concatenations for each of the broad AT configurations small, medium, and large. In other cases, it may be better to use only 2 of the three broad configurations and/or to use different numbers of concatenations per broad configuration.
We thus duplicate our concatenation 'S Ori small 1' such that we have 5 of identical concatenations named 'S Ori small 1' to 'S Ori small 5.' Inside the concatenations, we also rename the postfix of the OB names to '-1' to '-5', but otherwise all concatenations are identical so far.
To create the first concatenation for the medium configuration, we duplicate the concaternation 'S Ori small 5' to 'S Ori medium 1', and in the OB acquisition templates therein, we change the keyword 'Interferometric Array' to 'medium'. We also need to adjust the expected visibility for both the SCI and the CAL OB as we are expecting a lower limiting visibility value with the longer baselines.
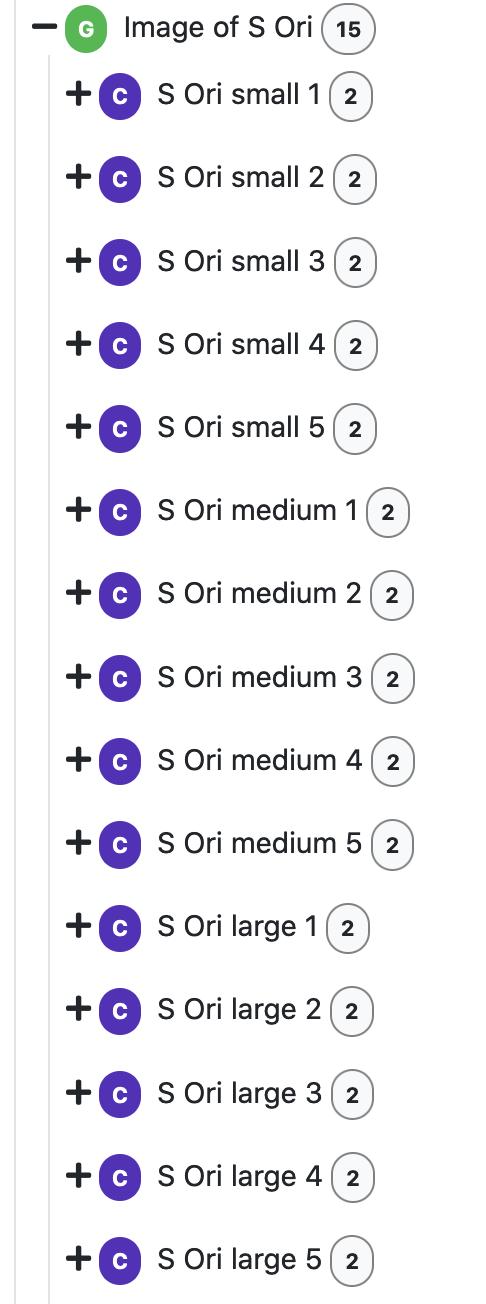
After duplicating the concatenations for the medium configurations, and following the same procedure for the large configurtion, our group finally looks like this:
Our group 'Image of S Ori' now includes a total of 15 concatenations, where each concatenation containes one SCI and one CAL OB. With the total of 15 uv points, we expect to be able to reconstruct an image of this source.

